We played the first game of the Day One campaign included in the
Klingon Armada rulebook. For the first game the victory conditions are to destroy 400 points of the opposing fleet. We used the
movements rules posted in the Majestic XII forum that will be the movement system in the
upcoming new version of Starmada.
We also instituted a house rule that allows a ship to repair a shield facing by taking a point of damage to an adjacent facing. (The Chief Engineer diverting power from one to the other)
Zachary and Michael, playing the Federation, chose their Division 1 (CA, NCL, 2x FF) and split them up. Zachary took the cruisers and Michael took the frigates. Remembering how the C8 was destroyed by light cruisers and frigates I kind of went overboard and took the Klingon Division 3 (C8, 2x D6). This gave me around a 300 pt advantage over the boys, but means the next couple games are going to be closer affairs as I'll be at a points disadvantage. I figured though that by over powering them in this game I can make up the difference in points for the final game if I lose the next couple. When I use the Klingon Division 1 (2x D7 and a D6) I'm going to be at a disadvantage, but I play it right I think I can make a good showing.
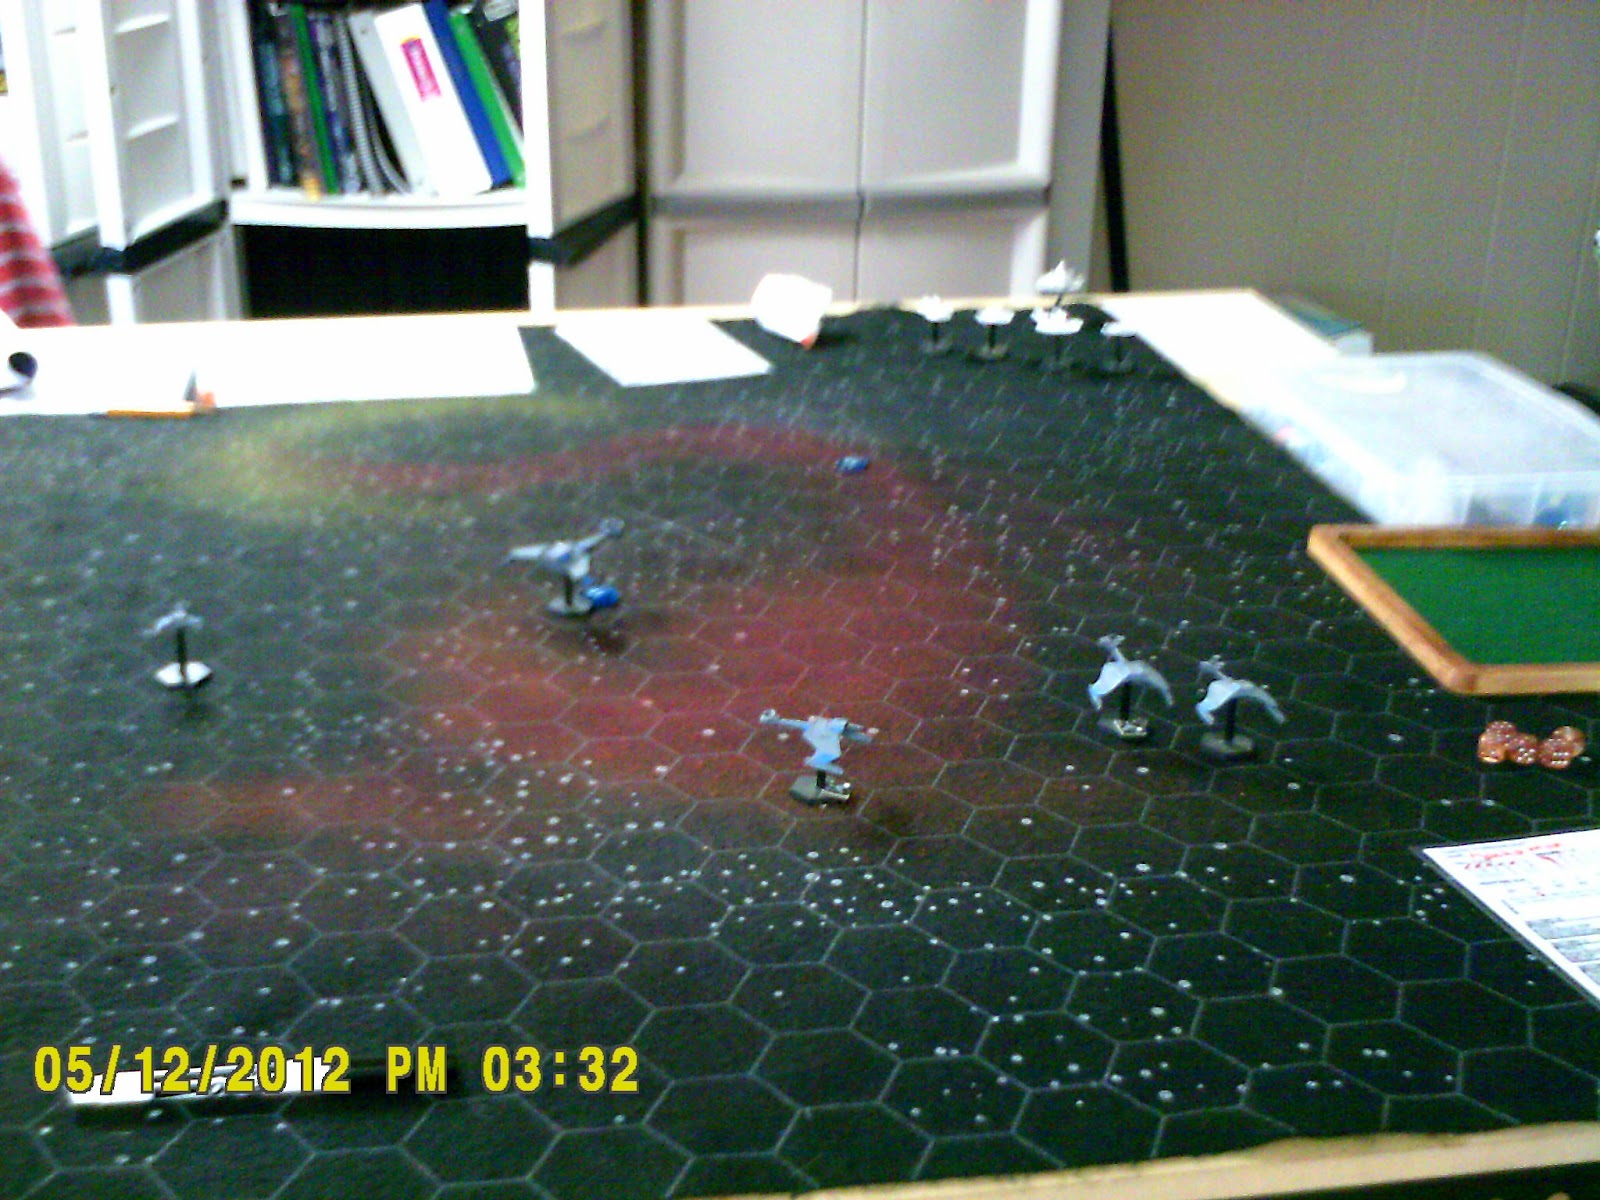
So we set up the models, the Feds put their ships in the center of their edge with Zachary putting his cruisers on their port flank CA on the outer edge. I tried to establish a refused flank by putting my squadron on starboard side of my edge. This would allow me to fly across the back edge of my side of the board and take pot shots with disruptors. This also good for the C8 because it Phaser-1s are strongest in it's broadside arcs.
In the first turn, the Feds cautiously advanced while I turned to port. The Feds were out of range while I was at extreme range for my disruptors and got a few hits on the NCL. If I could take out the NCL and CA that would be the game. I was hoping to get some lucky hull hits. I held onto my drones, while Michael launched both his and Zachary launched the one on the NCL. Zachary is getting better at holding onto his drone for defense when playing the Feds, but Michael still launches them first turn.
In the second turn the Feds continued a slow advance, with the NCL pulling slightly ahead. Well placed disruptor shots took about half the NCLs hull and seriously depleted the shields. I managed to mostly stay out of the Fed's range but a lucky Phaser-1 hit got through to one of the D6s.
In the third turn Michael decided to do a full burn across the table with his frigates to engage the lightly damaged D6. Zachary, seeing his NCL losing shields and weapons, decided to turn back to allow the damage control parties to make repairs and let the CA take the lead. Michael's drones got close enough for me to swat down one flight and reduce the other to 1 die. The C8 opened up with Phaser-1s and four distruptors on a frigate and it quickly became an expanding cloud of gas and debris. It also took a couple pot shots at the CA and took down it's front shield arc. I was hoping to take out some torpedo tubes, but shield damage makes it easier to get later hits in. One D6 was busy shooting down drones and the other nearly destoyed the remaining frigate. One D6 launched two flights of drones at the frigate figuring it would take it out and let the cruiser focus on the larger ships with its guns.

Zachary had his NCL come about as he had some good repair rolls and had gotten his forward shield arcs back up and his weapons on-line. I moved the damaged D6 forward outside of the CA's photon torpedoes arc of fire, planning to use disruptors on the NCL and the side facing Phaser-2s on the CA. The ploy worked, but as I expected I lost the D6. In return though, combined with the other ship's efforts, the CA was left heavily wounded with it's forward shield arcs down and the NCL with its shield completely down but by some providence with little additional hull damage. The C8 took a single overloaded photon torpedo hit that damaged the engines and a single weapon. I decided that the range was close enough for a mass drone launch and launched four flights from the C8 toward the CA and one flight from the D6 toward the NCL.

In what would be the final turn the CA only came forward enough to get in medium range of its main weapons and Zachary advanced his NCL. I moved the remaining D6 forward in the same manner as the previous one, thinking that if the drones didn't destroy the CA they would at least hurt it enough that it would survive and I wanted to try to get both ships out in this turn so I could claim the full point value of their squadron for this game. The drones took out the CA, meaning it wouldn't get to lend its firepower during the combat phase. The single flight against the NCL removed the shields that had been repaired in the previous turn's damage control check. Despite all my best efforts, enough hits had been made to destroy the NCL, but not enough resulted in hull hits. At the end of the turn the NCL had two hull points left but few weapons and no shields. The D6 lost a fair number of weapons, but was still in good fighting form and the C8 was relatively unscathed.
So the first game was a resounding victory for the Klingons, but given the point values that is really only to be expected. The next couple games will be much more closely won affairs.


