Finally got around to playing the final battle of the Day One campaign today. Took a lot longer than I thought it would, but that was mostly due to outside distractions. At any rate, after replaying the third battle the two side were relatively closely matched, with the Federation having the advantage. The victory condition was destroy 900 points of enemy models. The forces were...
Federation
Battle Station
NCL
oCL
2x Frigates
Klingon
C8 Dreadnought
D7C Command Cruiser
2x D7 Battlecruiser
F5 Frigate
I controlled the Klingon cruisers, Phillip the C8 and F5 (until later when he ceded control of the F5 to me). Zachary flew the Federation.
Zachary set up the station in a corner with ships forming a defensive line three hexes in front of it. I set up the cruisers on the near side of the station while Phil set up further out. (sorry about the fuzzy pictures, getting used to a new camera)
First turn saw Zachary dress his gun line while Phil moved forward and I did as well, but more cautiously to see if Zachary would come running out or not. Zachary hit the C8 with a couple Phaser-4s, did a couple points of hull damage but not much else.
Phil must've gotten spooked by the big guns on the station as he turned the F5 around and launched drones at the NCL. I moved forward just far enough to plink at the NCL with disruptors.
One of the D7 got hurt enough for me to pull him off the line while the other cruisers moved up to get into the edge of the Phaser-1s range. The damaged D7 only took a few points of hull damage, but his shields got chewed up pretty bad. So I figured I could make some repair rolls and have it catch up with the dreadnought. Zachary kept his gun line in place (for most of the game) and tried to score some lucky hits with proximity fused photon torpedoes. The NCL accrued damage steadily.
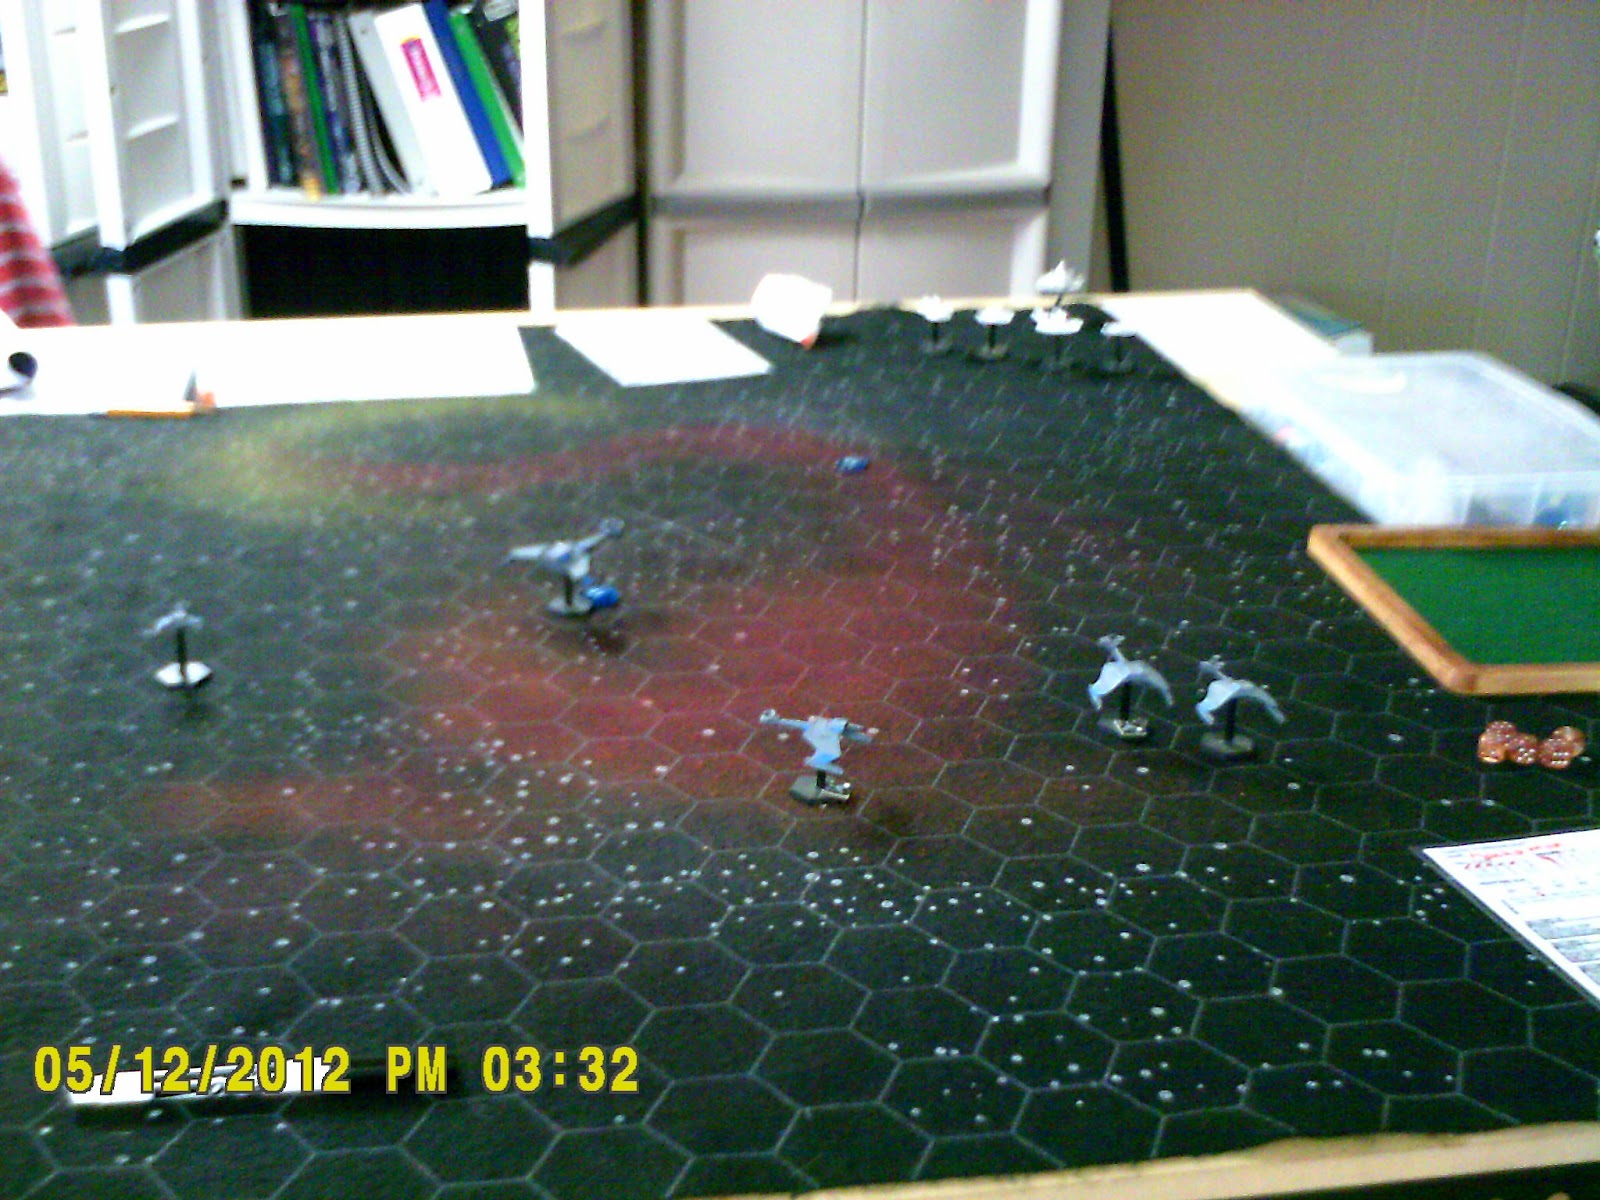
I decided it was go time and move the undamaged cruisers up to take out the NCL after the drones did some more damage to and Phil focused on the station. The NCL went out in a fireball, but the C8 was starting to show some stress on her hull, but systems remained largely unaffected.
With the NCL gone I was able to focus fire on the station, which was all I needed to win. The C8's shield were still holding out so I was confident in a victory even though it was down to about 5 hull at this point. managed to take out a FF with the D7 in the back, it couldn't range the station yet. The other D7 that had been the D7C's wingman was taken out by the combined firepower of the Federation ships.
And here's the end game. All but one of those blue drone tokens hit the Battlestation for the SFU version of the Macross Mega Missile attack. It left the station with 8 hull left. The C8 took it down to 3, and the D7C finished it. Unfortunately the C8 also bought it with the stations dying onslaught of Phaser-4 fire. I tried to take out the oCL before the end of the turn, but couldn't get enough hull hits.
At this point I had scored about 1040 points and Zachary had scored 893. The Klingons with the game by victory condition. If Zachary had destroyed another ship I would still have won by points. For the campaign, having won two of the earlier games and this one the Klingons achieved a major victory. They may have lost their dreadnought, but with the station out of the way further fleets will be able to push into Federation territory freely. If Zachary had won the scenario I would still have gotten a minor victory for the Klingons. The most he could have gotten was a minor Federation victory by winning this game with a higher victory point total than me.
The game was enjoyable despite some issues involving trying to game with an active 8 year old. I'm debating picking up the new version of Starmada and going through and converting the SFU ships to that format, though supposedly that will be done for us. I like Starmada Admiralty edition well enough, but the new version is supposed to streamline some of the die rolling. It gets time consuming waiting for the kids to pick out the dice that were successful for the next iteration of rolls.
Next game will probably be me teaching them how to play FUBAR with either 15s or 28s.
Showing posts with label campaign. Show all posts
20120512
20120225
Cygnar Battlebox Done and Other Stuff
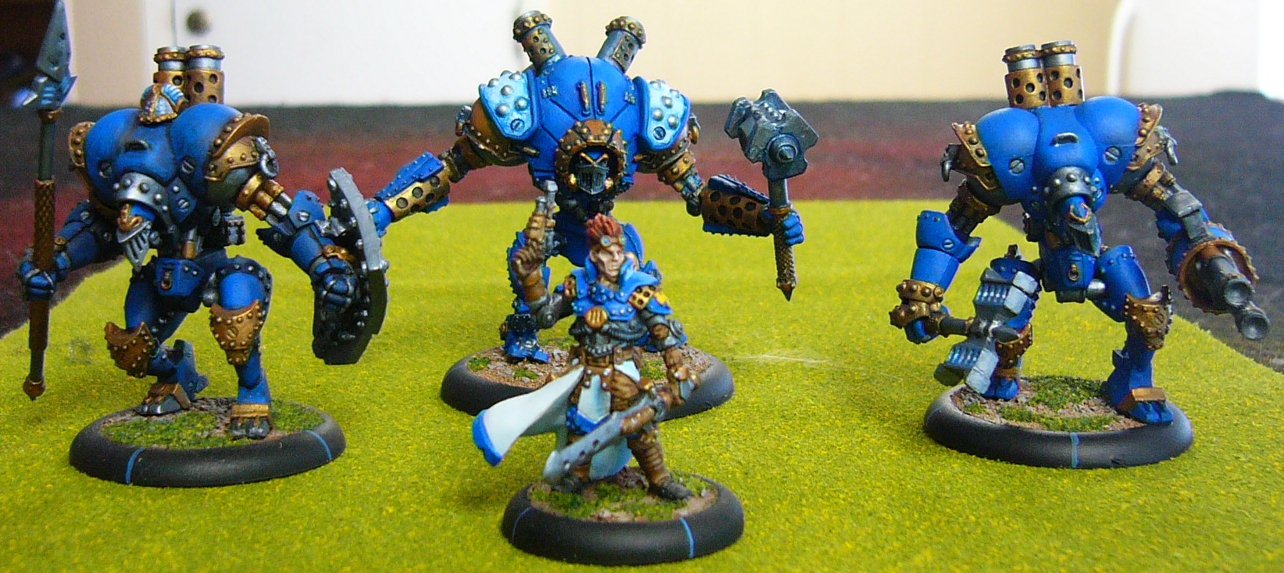
Well, it only took me four or five months, but as mentioned earlier, I finished the Cygnar battlebox last weekend. Feel like crap today so will probably go to the store for my first smackdown next weekend. Here's the pics of the finished group.
Also, last weekend was the third game of our Day One campaign. Going to replay it this weekend though because I don't want the last game to be too one-sided. That and Zachary should've mopped the floor with me, he just couldn't get the die rolls he needed. Not going to post the commentary, just the pics.
And finally, these are the 15mm goodies that came in from a combination of Christmas orders and anniversary gifts from my wife. A few packs of Rebel Earthforce Marines, a Rebel Merka 5, a Khurasan Siler tank, and Khurasans' mammoth Dictator. These may become WIPs in future posts.
Merka 5 parts
All the goodies together
Also, last weekend was the third game of our Day One campaign. Going to replay it this weekend though because I don't want the last game to be too one-sided. That and Zachary should've mopped the floor with me, he just couldn't get the die rolls he needed. Not going to post the commentary, just the pics.
And finally, these are the 15mm goodies that came in from a combination of Christmas orders and anniversary gifts from my wife. A few packs of Rebel Earthforce Marines, a Rebel Merka 5, a Khurasan Siler tank, and Khurasans' mammoth Dictator. These may become WIPs in future posts.
Merka 5 parts
All the goodies together
20120205
Q'apla!
Played the second game of the Day One campaign today instead of watching the Super Bowl. Myself and sometimes Phillip were running the Klingons and Zachary the Feds. This game was anyone's game until something seemingly insignificant, a few lucky rolls at the right time, turned it in my favor. Unfortunately we didn't take pictures this time. Forces were:
Federation Division 2:
2x Heavy Cruiser
1x New Light Cruiser
1x Old Light Cruiser
Klingon Division 2:
1x D7C Command Cruiser
2x D7 Battlecruiser
1x F5 Frigate
Zachary started by keeping his CAs in the center with lights on the flanks. Phillip and I kind of split them between us, but he scored some early lucky hits on one of the CAs. We both spent a couple turns saber dancing, but had a hard time landing hull hits, so most of the hits would just get repaired in the end phase. Finally in a position to push into overload range, Zachary moved his NCL forward and in two turns it was destroyed. The seemingly insignificant error he made was that while he did destroy the F5 that got the killing blow on his NCL (overloaded disruptors at 2 hexes). He should have split his fire and let the torpedoes finish the F5 instead of starting with phasers (which due to an untimely bad roll for him all missed, all 2's and he needed 3's) then finishing with torpedoes which generated about 10 more damage points than were needed to destroy the tiny ship. He may have gotten lucky with the phasers on a damaged D7 and taken it out along with the F5, which would have left me with a huge firepower gap. Even if he had focused on the D7 instead of the frigate he would have put me in a hurt. In the second to last turn he took out a D7, but left me in a position to destroy both CAs by turning to repair when he probably would've been better off turning about and unloading photon torpedo hell on my ships. End result was the Fed squadron only had a lightly damaged oCL remaining while I had a D7C and D7, both with hull integrity at about 50%. So, while damaged and having lost a couple ships, I still consider it a fairly big win for the Klingons that will set us up to have fairly close point values for the station assault in the last game.
The Klingons seem to have had some bad intel on the next objective though. They allocated two D7s and a D6 to engage a squadron that turned out to consist of a Command Cruiser, Heavy Cruiser, New Light Cruiser, Old Light Cruiser, and a Frigate. He'll have to destroy all three of my ships to claim victory, while I'm going to have to take out the FF, the oCL, and a third ship. If I manage a win on this one it's going to be by the skin of my teeth.
Federation Division 2:
2x Heavy Cruiser
1x New Light Cruiser
1x Old Light Cruiser
Klingon Division 2:
1x D7C Command Cruiser
2x D7 Battlecruiser
1x F5 Frigate
Zachary started by keeping his CAs in the center with lights on the flanks. Phillip and I kind of split them between us, but he scored some early lucky hits on one of the CAs. We both spent a couple turns saber dancing, but had a hard time landing hull hits, so most of the hits would just get repaired in the end phase. Finally in a position to push into overload range, Zachary moved his NCL forward and in two turns it was destroyed. The seemingly insignificant error he made was that while he did destroy the F5 that got the killing blow on his NCL (overloaded disruptors at 2 hexes). He should have split his fire and let the torpedoes finish the F5 instead of starting with phasers (which due to an untimely bad roll for him all missed, all 2's and he needed 3's) then finishing with torpedoes which generated about 10 more damage points than were needed to destroy the tiny ship. He may have gotten lucky with the phasers on a damaged D7 and taken it out along with the F5, which would have left me with a huge firepower gap. Even if he had focused on the D7 instead of the frigate he would have put me in a hurt. In the second to last turn he took out a D7, but left me in a position to destroy both CAs by turning to repair when he probably would've been better off turning about and unloading photon torpedo hell on my ships. End result was the Fed squadron only had a lightly damaged oCL remaining while I had a D7C and D7, both with hull integrity at about 50%. So, while damaged and having lost a couple ships, I still consider it a fairly big win for the Klingons that will set us up to have fairly close point values for the station assault in the last game.
The Klingons seem to have had some bad intel on the next objective though. They allocated two D7s and a D6 to engage a squadron that turned out to consist of a Command Cruiser, Heavy Cruiser, New Light Cruiser, Old Light Cruiser, and a Frigate. He'll have to destroy all three of my ships to claim victory, while I'm going to have to take out the FF, the oCL, and a third ship. If I manage a win on this one it's going to be by the skin of my teeth.
20120115
Day One Campaign, First Game
We played the first game of the Day One campaign included in the Klingon Armada rulebook. For the first game the victory conditions are to destroy 400 points of the opposing fleet. We used the movements rules posted in the Majestic XII forum that will be the movement system in the upcoming new version of Starmada.
We also instituted a house rule that allows a ship to repair a shield facing by taking a point of damage to an adjacent facing. (The Chief Engineer diverting power from one to the other)
Zachary and Michael, playing the Federation, chose their Division 1 (CA, NCL, 2x FF) and split them up. Zachary took the cruisers and Michael took the frigates. Remembering how the C8 was destroyed by light cruisers and frigates I kind of went overboard and took the Klingon Division 3 (C8, 2x D6). This gave me around a 300 pt advantage over the boys, but means the next couple games are going to be closer affairs as I'll be at a points disadvantage. I figured though that by over powering them in this game I can make up the difference in points for the final game if I lose the next couple. When I use the Klingon Division 1 (2x D7 and a D6) I'm going to be at a disadvantage, but I play it right I think I can make a good showing.
So we set up the models, the Feds put their ships in the center of their edge with Zachary putting his cruisers on their port flank CA on the outer edge. I tried to establish a refused flank by putting my squadron on starboard side of my edge. This would allow me to fly across the back edge of my side of the board and take pot shots with disruptors. This also good for the C8 because it Phaser-1s are strongest in it's broadside arcs.
In the first turn, the Feds cautiously advanced while I turned to port. The Feds were out of range while I was at extreme range for my disruptors and got a few hits on the NCL. If I could take out the NCL and CA that would be the game. I was hoping to get some lucky hull hits. I held onto my drones, while Michael launched both his and Zachary launched the one on the NCL. Zachary is getting better at holding onto his drone for defense when playing the Feds, but Michael still launches them first turn.
In the second turn the Feds continued a slow advance, with the NCL pulling slightly ahead. Well placed disruptor shots took about half the NCLs hull and seriously depleted the shields. I managed to mostly stay out of the Fed's range but a lucky Phaser-1 hit got through to one of the D6s.
In the third turn Michael decided to do a full burn across the table with his frigates to engage the lightly damaged D6. Zachary, seeing his NCL losing shields and weapons, decided to turn back to allow the damage control parties to make repairs and let the CA take the lead. Michael's drones got close enough for me to swat down one flight and reduce the other to 1 die. The C8 opened up with Phaser-1s and four distruptors on a frigate and it quickly became an expanding cloud of gas and debris. It also took a couple pot shots at the CA and took down it's front shield arc. I was hoping to take out some torpedo tubes, but shield damage makes it easier to get later hits in. One D6 was busy shooting down drones and the other nearly destoyed the remaining frigate. One D6 launched two flights of drones at the frigate figuring it would take it out and let the cruiser focus on the larger ships with its guns.
Zachary had his NCL come about as he had some good repair rolls and had gotten his forward shield arcs back up and his weapons on-line. I moved the damaged D6 forward outside of the CA's photon torpedoes arc of fire, planning to use disruptors on the NCL and the side facing Phaser-2s on the CA. The ploy worked, but as I expected I lost the D6. In return though, combined with the other ship's efforts, the CA was left heavily wounded with it's forward shield arcs down and the NCL with its shield completely down but by some providence with little additional hull damage. The C8 took a single overloaded photon torpedo hit that damaged the engines and a single weapon. I decided that the range was close enough for a mass drone launch and launched four flights from the C8 toward the CA and one flight from the D6 toward the NCL.
In what would be the final turn the CA only came forward enough to get in medium range of its main weapons and Zachary advanced his NCL. I moved the remaining D6 forward in the same manner as the previous one, thinking that if the drones didn't destroy the CA they would at least hurt it enough that it would survive and I wanted to try to get both ships out in this turn so I could claim the full point value of their squadron for this game. The drones took out the CA, meaning it wouldn't get to lend its firepower during the combat phase. The single flight against the NCL removed the shields that had been repaired in the previous turn's damage control check. Despite all my best efforts, enough hits had been made to destroy the NCL, but not enough resulted in hull hits. At the end of the turn the NCL had two hull points left but few weapons and no shields. The D6 lost a fair number of weapons, but was still in good fighting form and the C8 was relatively unscathed.
So the first game was a resounding victory for the Klingons, but given the point values that is really only to be expected. The next couple games will be much more closely won affairs.
We also instituted a house rule that allows a ship to repair a shield facing by taking a point of damage to an adjacent facing. (The Chief Engineer diverting power from one to the other)
Zachary and Michael, playing the Federation, chose their Division 1 (CA, NCL, 2x FF) and split them up. Zachary took the cruisers and Michael took the frigates. Remembering how the C8 was destroyed by light cruisers and frigates I kind of went overboard and took the Klingon Division 3 (C8, 2x D6). This gave me around a 300 pt advantage over the boys, but means the next couple games are going to be closer affairs as I'll be at a points disadvantage. I figured though that by over powering them in this game I can make up the difference in points for the final game if I lose the next couple. When I use the Klingon Division 1 (2x D7 and a D6) I'm going to be at a disadvantage, but I play it right I think I can make a good showing.
So we set up the models, the Feds put their ships in the center of their edge with Zachary putting his cruisers on their port flank CA on the outer edge. I tried to establish a refused flank by putting my squadron on starboard side of my edge. This would allow me to fly across the back edge of my side of the board and take pot shots with disruptors. This also good for the C8 because it Phaser-1s are strongest in it's broadside arcs.
In the first turn, the Feds cautiously advanced while I turned to port. The Feds were out of range while I was at extreme range for my disruptors and got a few hits on the NCL. If I could take out the NCL and CA that would be the game. I was hoping to get some lucky hull hits. I held onto my drones, while Michael launched both his and Zachary launched the one on the NCL. Zachary is getting better at holding onto his drone for defense when playing the Feds, but Michael still launches them first turn.
In the second turn the Feds continued a slow advance, with the NCL pulling slightly ahead. Well placed disruptor shots took about half the NCLs hull and seriously depleted the shields. I managed to mostly stay out of the Fed's range but a lucky Phaser-1 hit got through to one of the D6s.
In the third turn Michael decided to do a full burn across the table with his frigates to engage the lightly damaged D6. Zachary, seeing his NCL losing shields and weapons, decided to turn back to allow the damage control parties to make repairs and let the CA take the lead. Michael's drones got close enough for me to swat down one flight and reduce the other to 1 die. The C8 opened up with Phaser-1s and four distruptors on a frigate and it quickly became an expanding cloud of gas and debris. It also took a couple pot shots at the CA and took down it's front shield arc. I was hoping to take out some torpedo tubes, but shield damage makes it easier to get later hits in. One D6 was busy shooting down drones and the other nearly destoyed the remaining frigate. One D6 launched two flights of drones at the frigate figuring it would take it out and let the cruiser focus on the larger ships with its guns.
Zachary had his NCL come about as he had some good repair rolls and had gotten his forward shield arcs back up and his weapons on-line. I moved the damaged D6 forward outside of the CA's photon torpedoes arc of fire, planning to use disruptors on the NCL and the side facing Phaser-2s on the CA. The ploy worked, but as I expected I lost the D6. In return though, combined with the other ship's efforts, the CA was left heavily wounded with it's forward shield arcs down and the NCL with its shield completely down but by some providence with little additional hull damage. The C8 took a single overloaded photon torpedo hit that damaged the engines and a single weapon. I decided that the range was close enough for a mass drone launch and launched four flights from the C8 toward the CA and one flight from the D6 toward the NCL.
In what would be the final turn the CA only came forward enough to get in medium range of its main weapons and Zachary advanced his NCL. I moved the remaining D6 forward in the same manner as the previous one, thinking that if the drones didn't destroy the CA they would at least hurt it enough that it would survive and I wanted to try to get both ships out in this turn so I could claim the full point value of their squadron for this game. The drones took out the CA, meaning it wouldn't get to lend its firepower during the combat phase. The single flight against the NCL removed the shields that had been repaired in the previous turn's damage control check. Despite all my best efforts, enough hits had been made to destroy the NCL, but not enough resulted in hull hits. At the end of the turn the NCL had two hull points left but few weapons and no shields. The D6 lost a fair number of weapons, but was still in good fighting form and the C8 was relatively unscathed.
So the first game was a resounding victory for the Klingons, but given the point values that is really only to be expected. The next couple games will be much more closely won affairs.
20120107
Day One Campaign Set Up
After playing last week's game of Klingon Armada I decided that a campaign would be fun now that the boys are getting the hang of the game. So, rather than coming up with something convoluted I opted for the simple Day One campaign that is included in the KA book. The Day One campaign is a series of four games with the last game being a battlestation assault that is set on the first day of the General War from the Star Fleet Universe setting. For those of you not up on your SFU history, the Klingons started the General War with a series of surprise attacks on the Federation which grew to include all of the known races.
In this campaign the Klingons and Federation each create a 3000 point fleet then split that fleet up into three divisions of 800 to 1200 points each. For each of the first three games each side secretly selects a division for each game without reusing a division. So, it's possible for one side to have an 800 pt fleet and the other a 1200 pt fleet. The games have a set number of victory points (the point value of enemy ships destroyed) that rises each game. The first game's victory condition is 400 vp, the second 500 vp, and the third 600 vp. In the final game the Klingons assault a Federation battlestation with the point values allocated to each side dependent upon the results of the previous games. So, if the Klingons do well in the early games then they get more ships for the assault, if the Feds do well, they can better defend their station. That's how it works in nutshell.
So I set about setting up the fleets using the miniatures I have available and painted (no counters for this) and came up with these
Federation
Division I (819 pts)
Heavy Cruiser
New Light Cruiser
2x Frigate
Division II (1007 pts)
2x Heavy Cruiser
New Light Cruiser
Old Light Cruiser
Division III (1170 pts)
Command Cruiser
Heavy Cruiser
New Light Cruiser
Old Light Cruiser
Frigate
Yes, I know, the New Light Cruiser didn't exist on Day One, but I wanted some variety and wanted to get a new toy on the table. Next time I do this my Battlecruiser and Dreadnought will be ready for the Feds to use.
Klingon
Division I (821 pts)
2x D7 Battlecruiser
D6 Heavy Cruiser
Division II (1040 pts)
D7C Command Cruiser
2x D7 Battlecruiser
F5 Frigate
Division III (1125 pts)
C8 Dreadnought
2x D6 Heavy Cruiser
Too be honest, the division with the C8 worries me a little. It's point value means that it's loss means losing that battle immediately, and after the last game where it was taken out by light cruisers and frigates I'm concerned for its well-being.
I'm looking forward to this as I think it will be a lot of fun, especially that last game. I'm actually kind of hoping that Zachary will pick the Feds as I want to try my hand at taking down a battlestation.
In this campaign the Klingons and Federation each create a 3000 point fleet then split that fleet up into three divisions of 800 to 1200 points each. For each of the first three games each side secretly selects a division for each game without reusing a division. So, it's possible for one side to have an 800 pt fleet and the other a 1200 pt fleet. The games have a set number of victory points (the point value of enemy ships destroyed) that rises each game. The first game's victory condition is 400 vp, the second 500 vp, and the third 600 vp. In the final game the Klingons assault a Federation battlestation with the point values allocated to each side dependent upon the results of the previous games. So, if the Klingons do well in the early games then they get more ships for the assault, if the Feds do well, they can better defend their station. That's how it works in nutshell.
So I set about setting up the fleets using the miniatures I have available and painted (no counters for this) and came up with these
Federation
Division I (819 pts)
Heavy Cruiser
New Light Cruiser
2x Frigate
Division II (1007 pts)
2x Heavy Cruiser
New Light Cruiser
Old Light Cruiser
Division III (1170 pts)
Command Cruiser
Heavy Cruiser
New Light Cruiser
Old Light Cruiser
Frigate
Yes, I know, the New Light Cruiser didn't exist on Day One, but I wanted some variety and wanted to get a new toy on the table. Next time I do this my Battlecruiser and Dreadnought will be ready for the Feds to use.
Klingon
Division I (821 pts)
2x D7 Battlecruiser
D6 Heavy Cruiser
Division II (1040 pts)
D7C Command Cruiser
2x D7 Battlecruiser
F5 Frigate
Division III (1125 pts)
C8 Dreadnought
2x D6 Heavy Cruiser
Too be honest, the division with the C8 worries me a little. It's point value means that it's loss means losing that battle immediately, and after the last game where it was taken out by light cruisers and frigates I'm concerned for its well-being.
I'm looking forward to this as I think it will be a lot of fun, especially that last game. I'm actually kind of hoping that Zachary will pick the Feds as I want to try my hand at taking down a battlestation.
Subscribe to:
Posts (Atom)